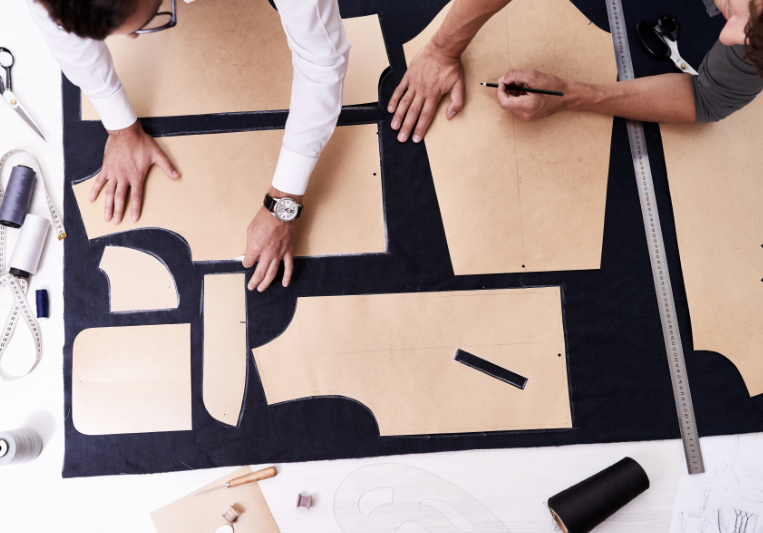

As a home sewer or fashion novice, going about your first fabric purchase can feel daunting. Starting out with a little background knowledge and doing some research can make all the difference. One of the most asked questions when beginning a project is “How much fabric do I need?” If you are dressmaking from premade patterns, you don’t have to worry about these calculations, although a good rule of thumb is to always add ½ yd to the yield to allow for error and shrinkage. If you are drafting the patterns yourself, however, this chart is a great resource to help you avoid needless waste or having to go back for a second order of fabric.

All fabrics have their own unique width, listed under “Details” on each product page on our online store. This width can be used below to calculate how much fabric you need to start sewing. The below chart is based on a misses’ standard size 10-14 and 5’4” height, but can be easily adjusted up or down according to size and height of the customer. The amount of yards depending on the chosen fabric’s width and the garment you are making is a good general estimate of how much to purchase. The more projects you do, the more familiar you will become with how much fabric you need to fit your customers’ size range and style.
It is important to note that when sewing with patterned fabric, you will want to add a bit of allowance to your yardage if you want the prints to match up at your seams. Patterns that match at the seams are known in the fashion design world to be of higher quality and considered more “couture.” This is less of a concern when working with smaller prints, as the seams will be less noticeable. Be sure to consider the outcome and desired consumer of your garment. Will the fabric shrink after wash? Does the customer prefer a little wiggle room? Consider adding “ease,” or extra yardage at the seams, to your garment. Are you going for a fitted or oversized style? Go up or down on yardage accordingly. Want to make a mock-up first? Double your order. Don’t be afraid to alter the pattern you chose to your own style and desired outcome, and make sure you have the yardage to match.

Our chart outlines basic styles such as pants by length and basic dresses by sleeve style. If you are looking for a more detailed estimate, many sewers will go off an old pattern with a similar style, such as puff sleeves, wide-leg pants, or maxi dress.
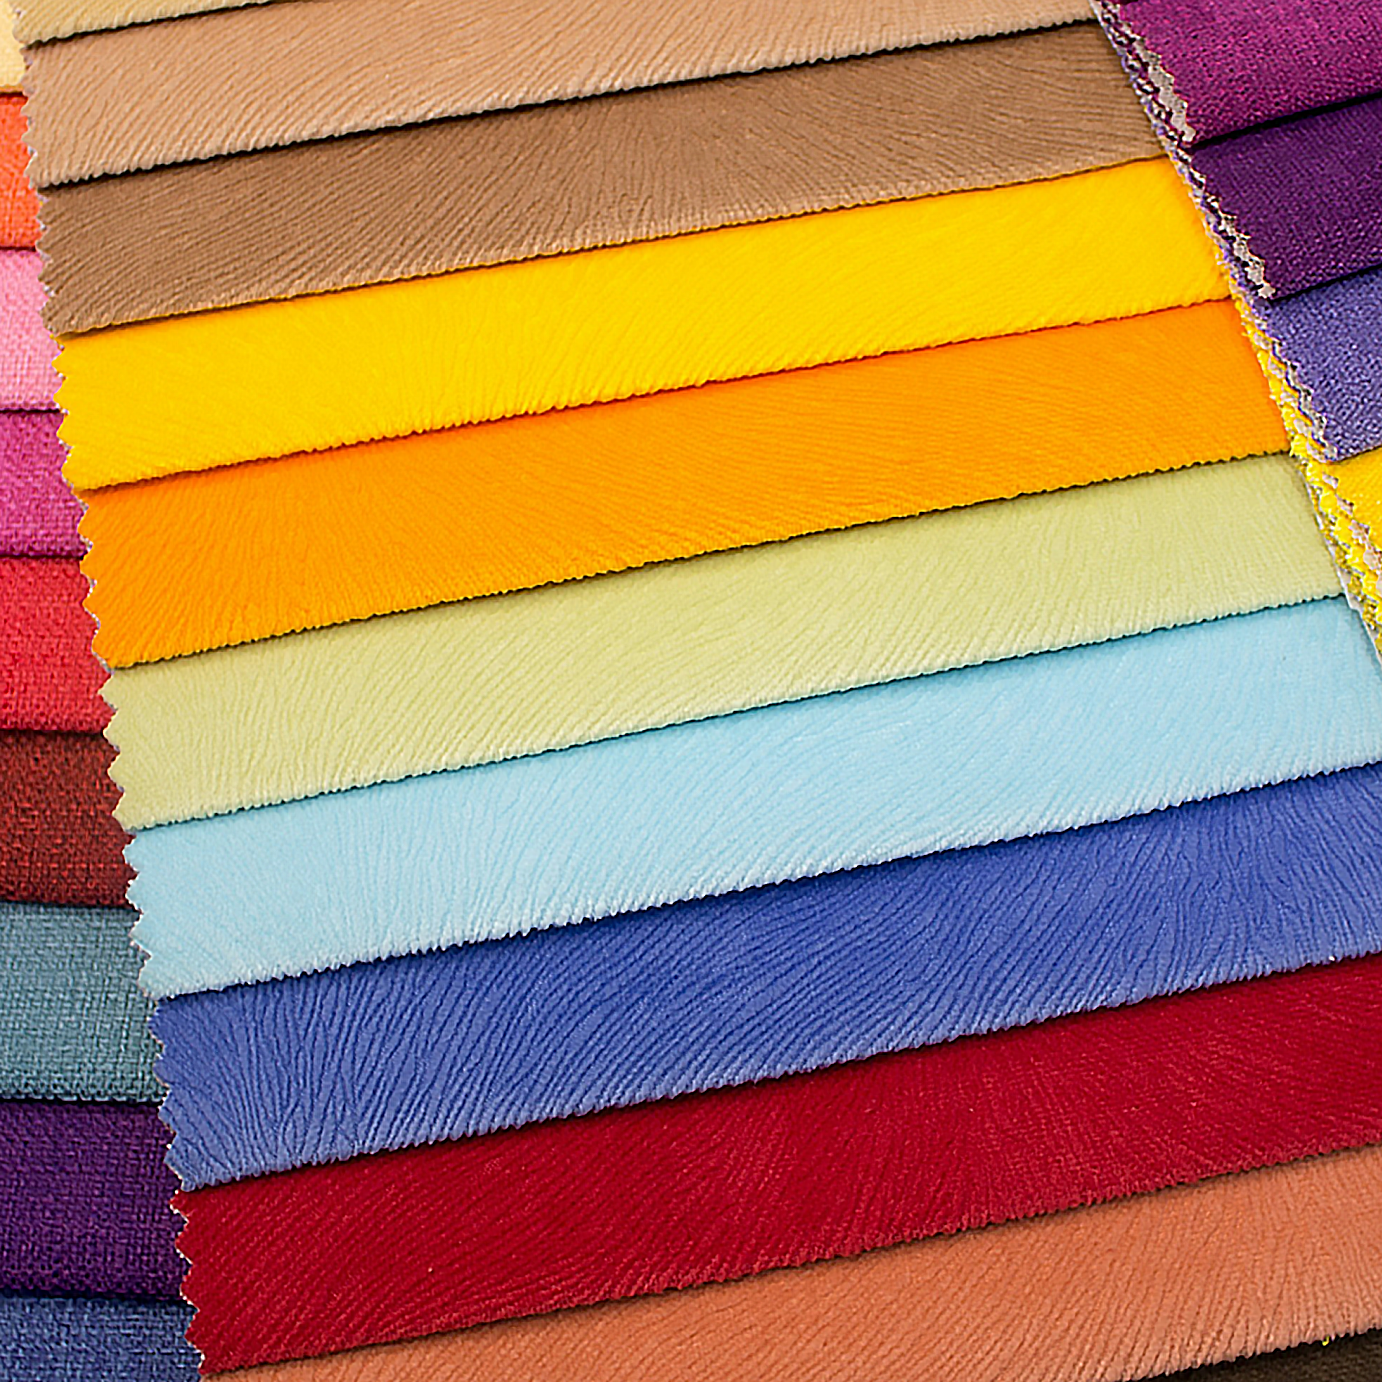
Additionally, ordering a fabric swatch is an essential step in getting started on your sewing project. Zelouf now offers free swatches to ensure you know the weight, color, and hand of your fabric is perfect before you make a larger purchase. Ensuring you have the correct self and lining fabrics and order the appropriate account will allow you to start your project with confidence.
Happy Sewing!