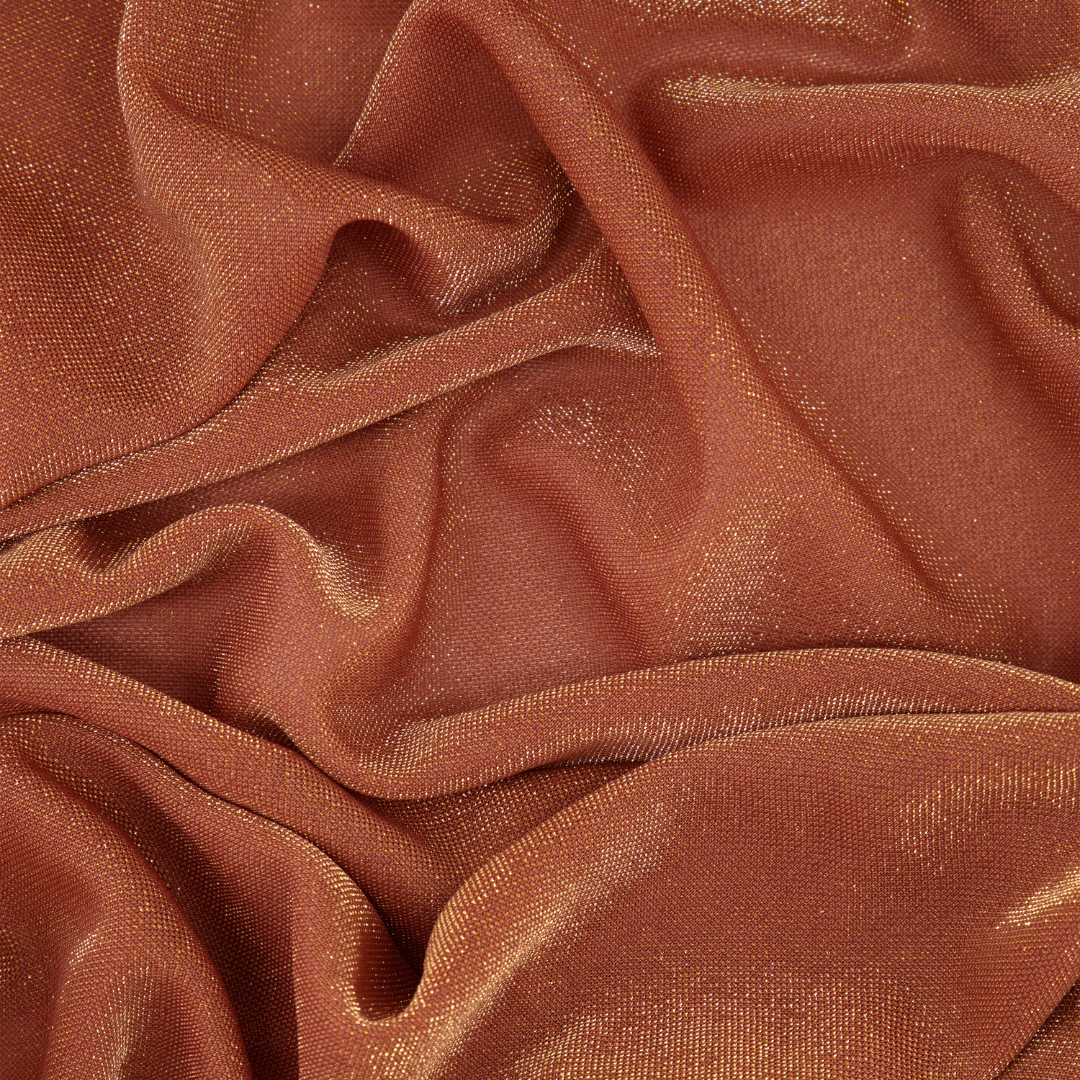

Satin is one of those fabrics that turns heads the moment it hits the light. Its signature shine and fluid drape are why designers keep coming back to it season after season for gowns, blouses, lingerie, and everything in between. But if you've ever tried cutting satin and watched your pattern piece slide halfway across the table, or finished a seam only to find puckers and pulls where there should be none, you already know: satin does not forgive you easily.
We've seen it happen at every skill level. Even experienced sewers hit a wall with slippery fabrics. The difference between a professional result and a frustrating one usually comes down to preparation, the right tools, and a handful of techniques that take the guesswork out of handling this fabric. This guide covers everything, from preparing your yardage before you cut to pressing your finished seams without damaging that beautiful sheen.
Why Satin Fabric Is Tricky to Cut and Sew
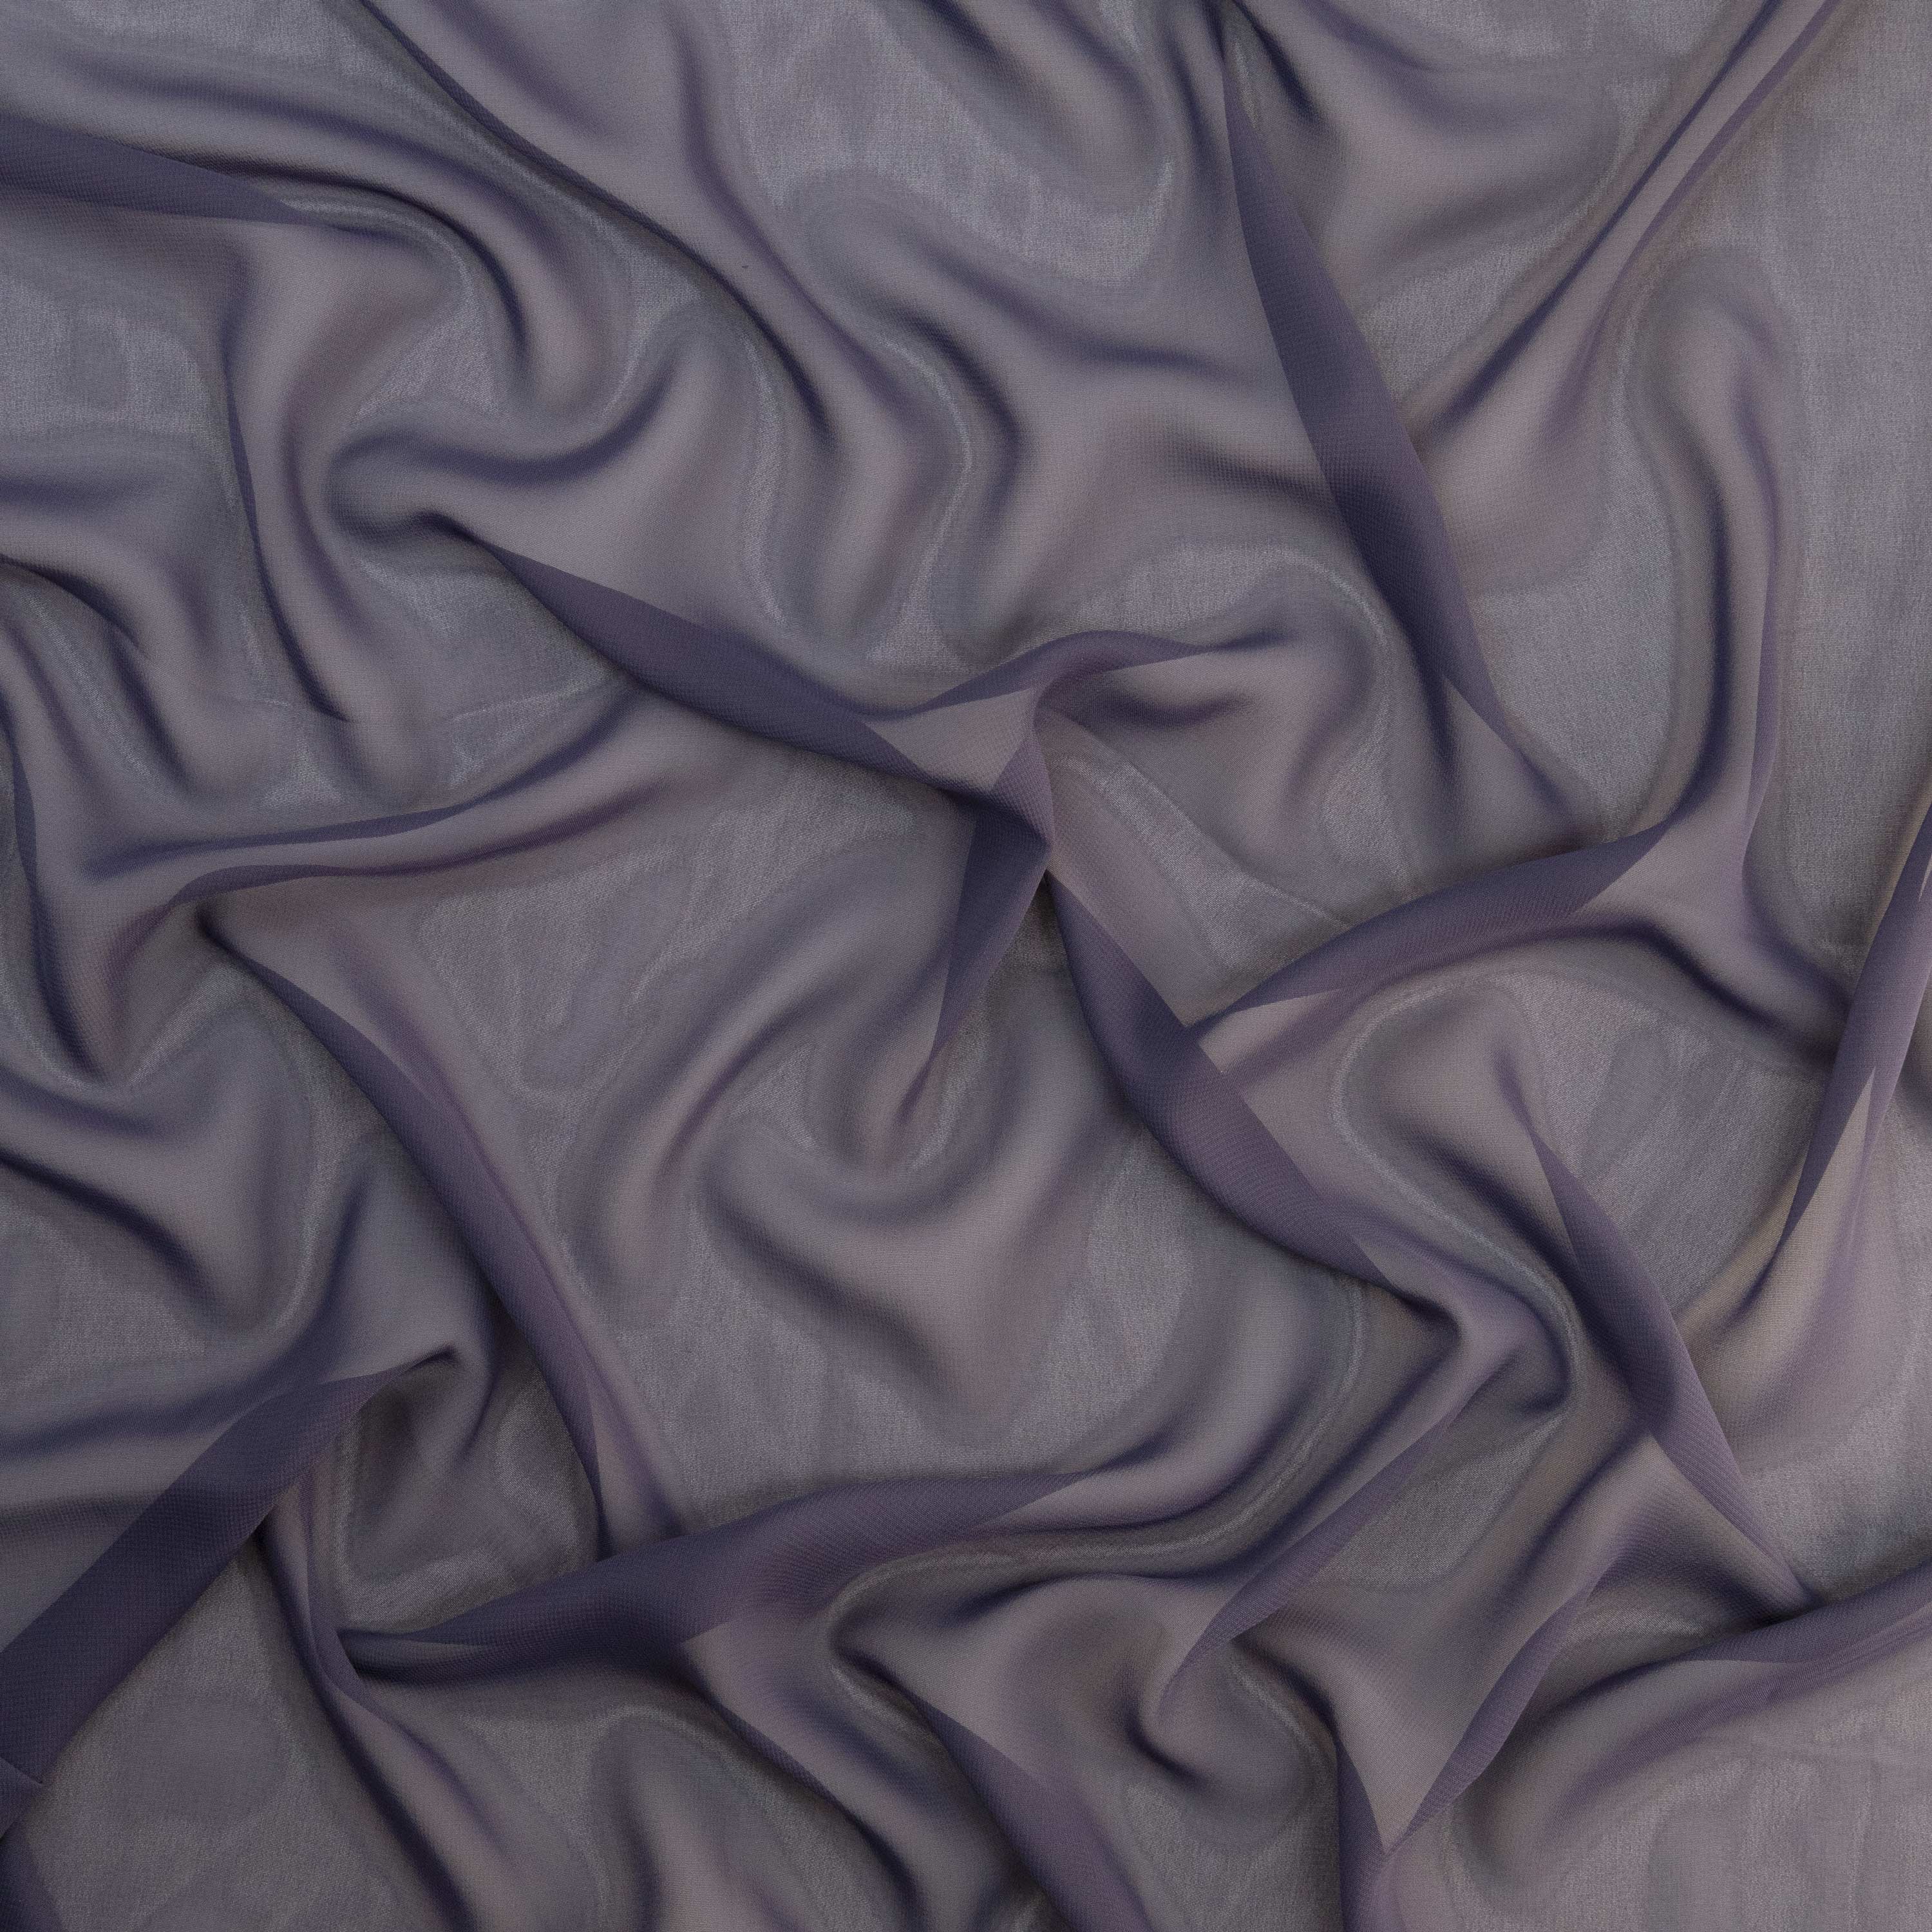
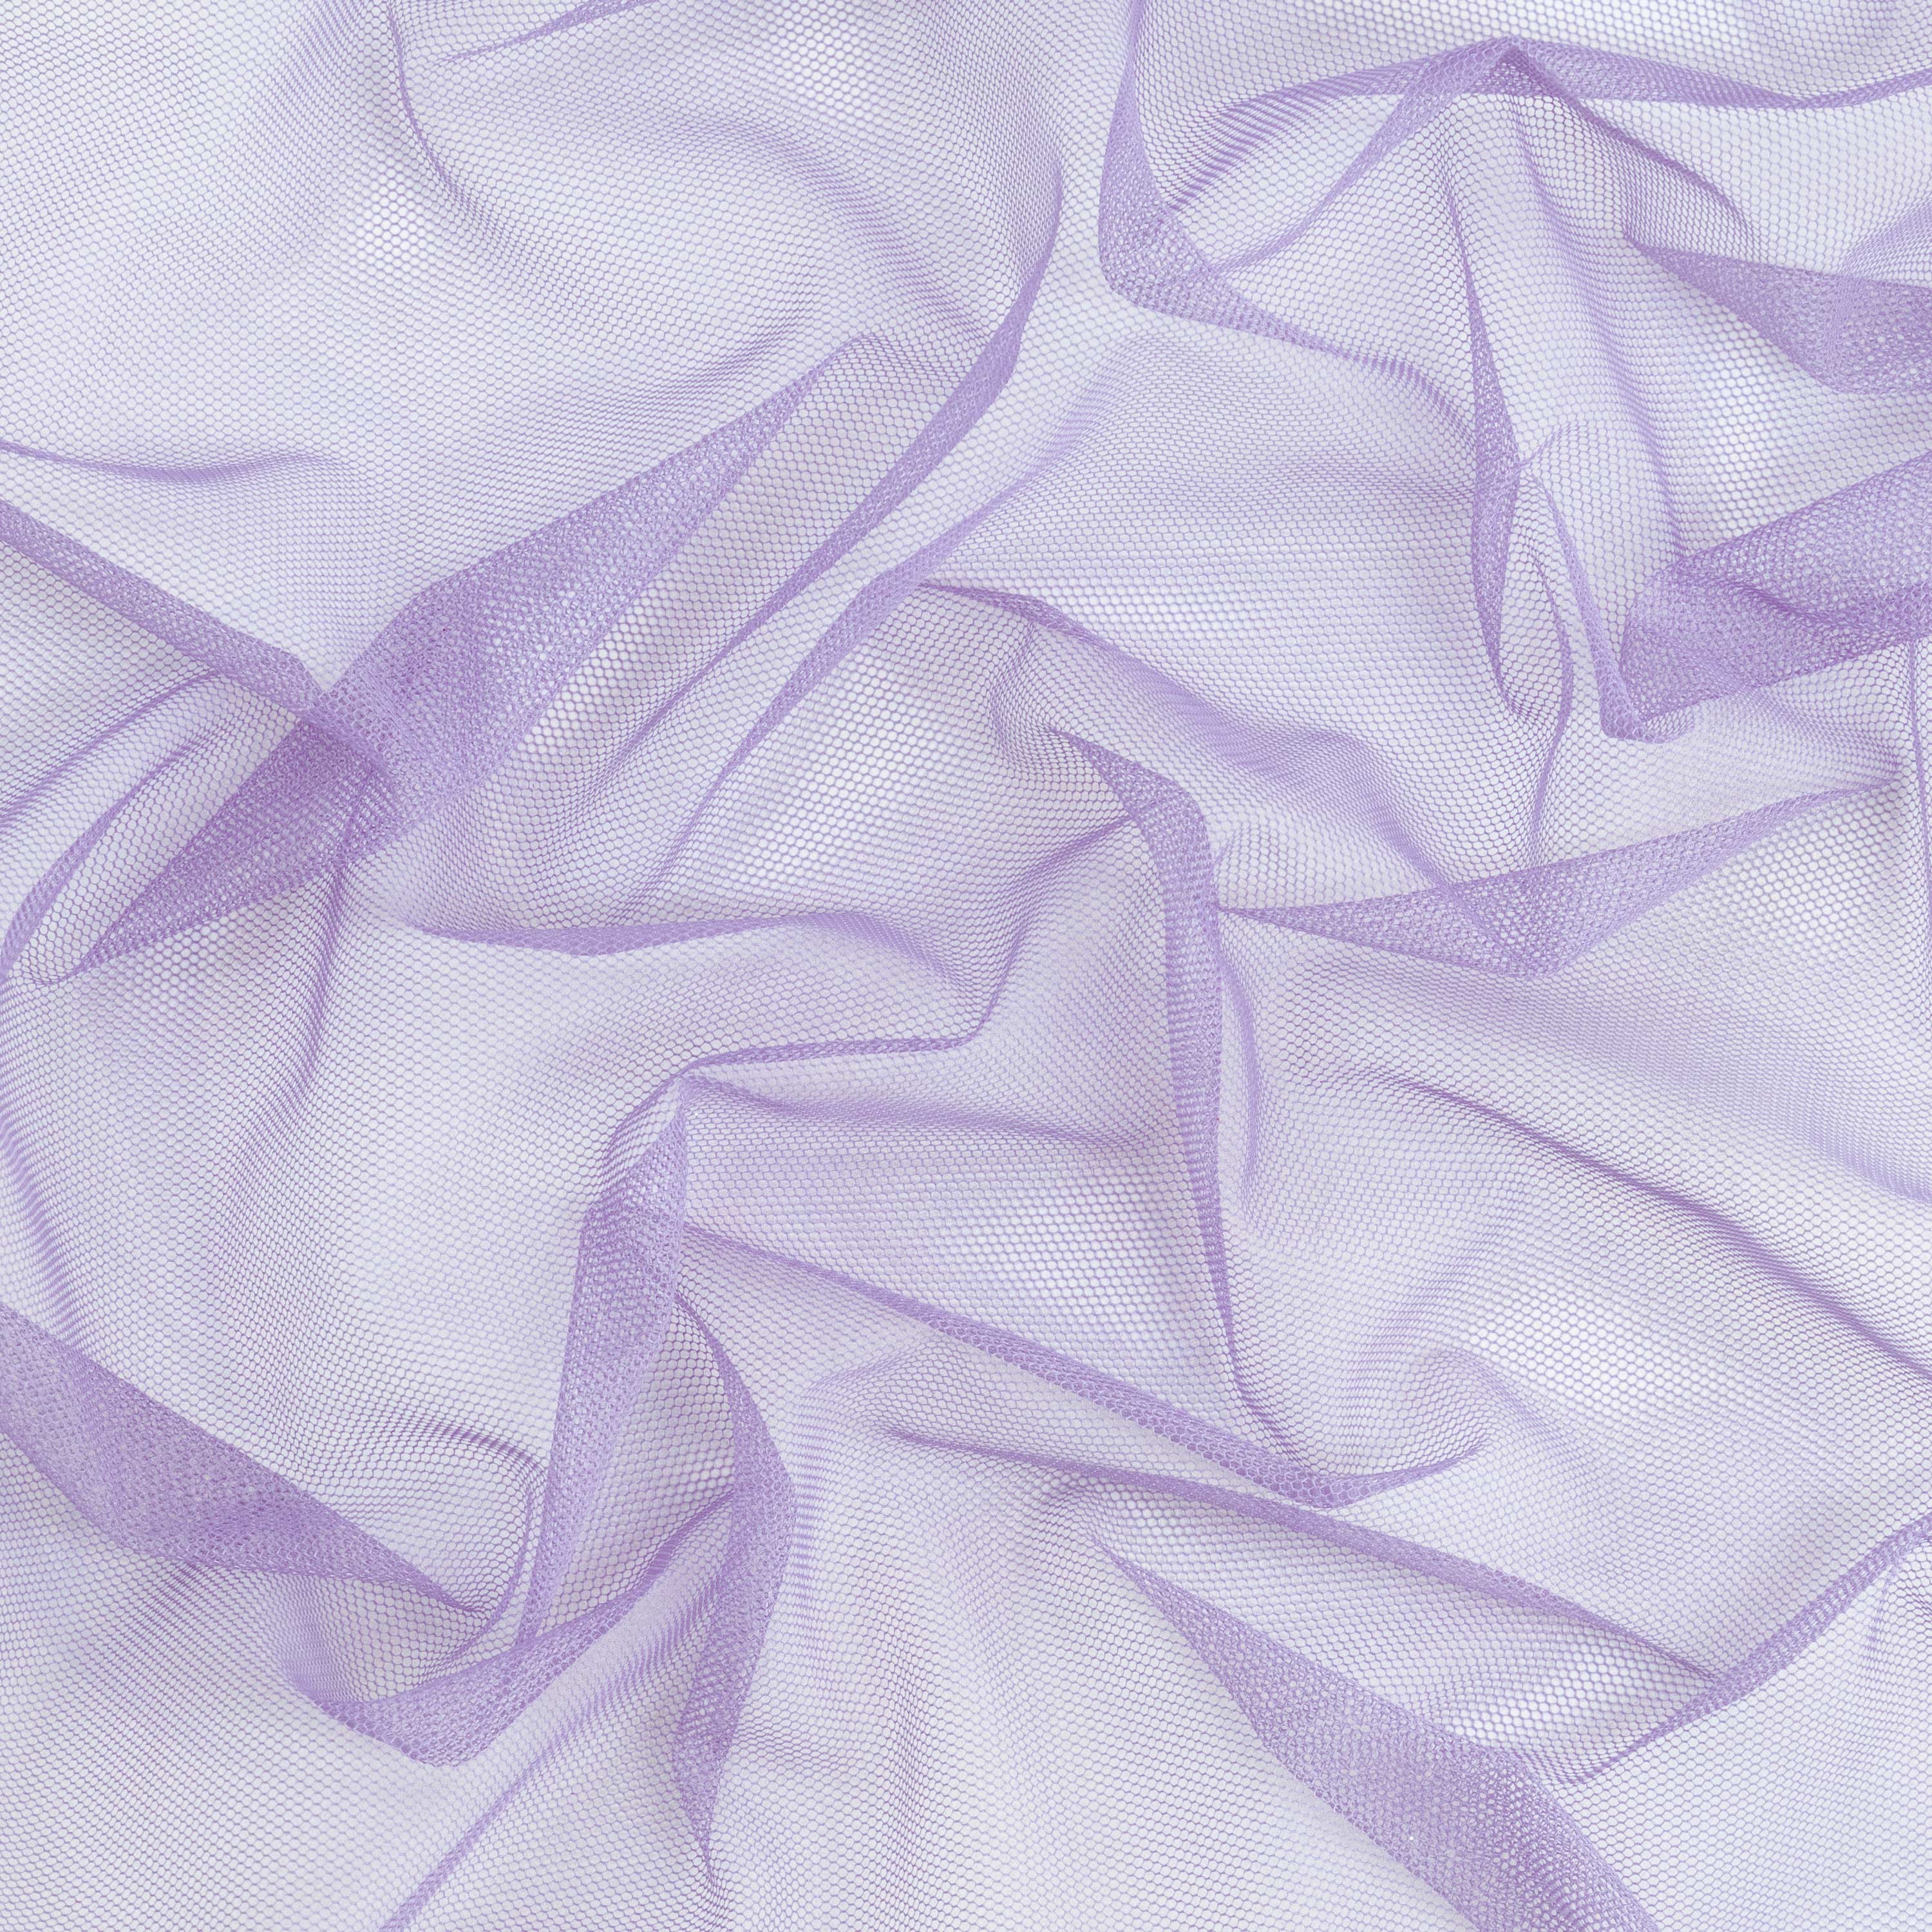
Satin's greatest quality (its smooth, polished surface) is also what makes it so challenging to work with. Because satin is woven with long, floating weft threads that sit on the surface of the fabric, there's very little friction holding the material in place. Lay it on a table, and it moves. Pin it to a pattern, and it shifts. Try cutting it in two layers, and you'll notice the layers creeping against each other before your scissors reach the halfway point.

Beyond the slipping, satin fabric frays. The moment you cut through those long surface threads, the edge starts to unravel. And unlike a tightly woven cotton or a stable knit, satin doesn't self-correct; it keeps going if you let it.
Then there's the sheen itself. Satin shows everything: pin holes, pressure marks from a hot iron, even fingerprints on the surface under the right lighting. The weave structure means the fabric has a clear grain, and if your pattern pieces drift even slightly off-grain during cutting, the finished garment won't hang as intended.
That said, you need to approach satin with more patience and structure than you would a forgiving woven like cotton or a stable double-knit.
Common Cutting and Sewing Mistakes Beginners Make
Most satin-related disasters start before the sewing machine is even turned on. The most common mistake is cutting satin that is folded in two layers directly from the bolt. The layers slide, the pattern drifts, and you end up with two mismatched pieces. Cutting in a single layer takes more time, but it's the only reliable approach.

Another common mistake is using the wrong scissors. Dull blades drag against the threads instead of slicing through them cleanly, which causes fraying and distortion along the cut edge. The fabric scissors should be sharp and reserved exclusively for fabric.
Using standard straight pins is also problematic. Pins can leave permanent holes in satin, especially silk satin. The same applies to pressing with excessive heat or steam without a press cloth. These mistakes are easy to avoid once you know to look out for them, which is exactly what the rest of this guide is for.
Prepare Your Satin Fabric Before Cutting
Pre-Treating Satin (Steam, Iron Settings, and Water Stain Prevention)
Satin is extremely vulnerable to watermarks, especially silk satin. A single drop of water on the surface, whether from a steam iron or a damp finger, can leave a visible stain that's difficult or impossible to remove from silk satin. Before you do anything else, test a small scrap of your fabric on a low-heat setting, using a press cloth between the iron and the fabric.
For polyester satin, a cool iron is usually safe. For silk satin, use the lowest available setting and keep the steam off. If you need to remove wrinkles, hang the fabric in a steamy bathroom rather than steaming it directly.
📌 Read more: How to choose between charmeuse and satin fabric.
Should You Prewash Polyester vs Silk Satin?
This depends on the fiber content. Polyester satin is generally stable and doesn't shrink, but a gentle hand wash before cutting is still worth doing if the finished garment will be laundered rather than dry cleaned. It removes any finishing treatments applied during manufacturing and pre-shrinks the fabric, ensuring your garment dimensions remain consistent after the first wash.

Silk satin is a different story. Silk can shrink and change texture when washed, and many silk satins are dry-clean only. Check the care label on your yardage. If you're working with our charmeuse satin or bridal satin, we recommend following the care instructions specific to each fabric. When in doubt, order a swatch and test it first.
Let the Fabric Relax
Once you've pre-treated the fabric, don't rush straight into cutting. Lay the satin flat on your cutting surface and let it rest for at least 30 minutes, ideally a few hours. Fabric rolled onto a bolt develops memory and tends to retain its shape. Allowing time for the cut pieces to relax and settle ensures they will be more accurate and less likely to distort when sewn into a garment.
Set Up a Stable Cutting Table for Slippery Fabric
Your cutting surface makes a significant difference with slippery fabrics. A standard table with a smooth top is the worst option, as satin will glide right off it. Instead, place a large cutting mat on top of the table, or lay down a flannel sheet or a piece of fleece fabric to create friction. The rough backing grips the satin and keeps it from sliding while you work.
Tip: Ensure your table is large enough to support the entire fabric piece; fabric that hangs off the edge will pull and distort the sections you're trying to cut.
Tools You Need for Cutting Satin Fabric Cleanly
Getting the right tools together before you start is half the battle. Here's what we recommend having at your station before you cut a single piece of satin.
Sharp Fabric Scissors

Invest in a quality pair of shears with sharp, fine blades and keep them exclusively for fabric. Fiskars and Kai are both excellent options that stay sharp with consistent use. Long blades allow you to cut in longer, smoother strokes, which reduces drag on the fabric.
Rotary Cutter

A rotary cutter is often more accurate than scissors for satin because you're cutting with a rolling motion rather than lifting and repositioning blades. Pair it with a self-healing cutting mat for long, clean cuts.
Cutting Mat

A large self-healing mat protects your table, extends the life of your rotary blade, and gives you a stable, non-slip base to work on. The grid lines are useful for checking grain alignment as you lay out your pattern pieces.
Pattern Weights
Use pattern weights, such as small, flat, heavy objects, to hold pattern paper in place without touching the fabric with a sharp point. You can also buy dedicated sewing weights or improvise with metal rulers, washers, or small cans. They do the job without leaving any marks.
Fine Hand-Sewing Pins

When you do need pins, especially for matching seams or temporarily holding sections together, use fine, sharp silk pins or glass-head pins. These have a narrower shaft, minimizing the risk of leaving visible holes in the fabric surface.

Tailor's Chalk or Fade-Away Marking Pen
Never use a regular pen or marker on satin. Tailor's chalk or a fade-away fabric pen are your safest options for marking seam allowances, notches, and darts. Test on a scrap piece first to ensure the marks disappear cleanly.
Tissue Paper or Stabilizer
Tissue paper is one of the most useful tools in the satin toolkit. Placing a layer of tissue paper under your satin while cutting prevents the fabric from slipping on the cutting mat and provides an extra layer of stability. It tears away cleanly after cutting without disturbing the fabric edge.
Step-by-Step Guide to Cutting Satin Fabric Accurately
Step 1 – Lay the Fabric in a Single Layer (Avoid the Fold)
Always cut satin in a single layer. Folding the fabric doubles the slipping problem and almost guarantees that your two cut pieces will be slightly different. Take the extra time to cut each piece individually. If your pattern requires mirror-image pieces, flip the pattern over for the second cut rather than folding the fabric.
Step 2 – Align the Grain and Prevent Stretch
Satin has a straight grain that runs parallel to the selvage. Before placing any pattern pieces, find the grain by pulling a single thread across the width of the fabric or by looking at the weave structure closely.

Your pattern pieces should align with this grain unless you're intentionally cutting on the bias. Use the grid on your cutting mat to double-check alignment before you commit to cutting.
Step 3 – Secure Pattern Pieces with Pattern Weights (Not Pins)
Lay your pattern pieces on the fabric and secure them with weights placed at several points around each piece — corners, curves, and any long straight sections. The goal is to keep the pattern from shifting without touching the fabric with pins. If the piece is large, add a few weights in the center as well.
Step 4 – Cut Along the Pattern Without Lifting the Fabric
When you're ready to cut, keep your non-dominant hand flat on the pattern and fabric to hold everything steady. Using scissors, take long, confident strokes along the pattern edge; short, choppy cuts create a jagged, uneven edge that frays faster and is harder to sew.
If you're using a rotary cutter, apply consistent pressure and cut in a single smooth motion. Never lift the fabric off the mat while cutting.
Step 5 – Mark Seam Allowance and Notches Carefully
Once the piece is cut, mark notches by snipping a small triangle outward from the seam allowance edge (not inward, you don't want to compromise the seam allowance itself). Mark darts and other interior details with tailor's chalk or a fade-away pen, pressing lightly. Transfer all markings before moving the cut piece off the mat, as repositioning a cut piece of satin accurately is harder than it sounds.
Tips for Sewing with Satin After Cutting
1. Adjust Machine Settings for Slippery Fabric
Before you sew a single seam on your finished pieces, run a test on a scrap of the same fabric. Reduce presser foot pressure if your machine allows it, and use a straight-stitch presser foot or walking foot for better control on slippery surfaces. A microtex or sharp needle, size 60/8 or 70/10, is ideal for satin, as it pierces the fabric cleanly without snagging the weave.
2. Prevent Puckered Seams and Bulky Seams
Puckering is one of the most common satin sewing problems, usually caused by excessive tension, a dull needle, or holding the fabric too tightly while feeding it through the machine. Let the machine do the feeding. Gently guide the fabric with your hands without pulling. If you're still getting puckers, try reducing upper thread tension slightly.
3. Choose the Right Stitch Length
A stitch length of 2.0mm to 2.5mm works well for most satin sewing. Too short and the stitches perforate the fabric, weakening the seam and increasing the risk of tearing. Too long and the seam won't hold under stress. It's best to test on a scrap before sewing your actual pieces to avoid mistakes.
How to Finish Raw Edges
The cleanest way to finish satin seams is with a French seam, which encloses the raw edge completely within the seam. This is most useful for sheer or lightweight satin, where the seam allowance might show through. A serged edge is faster and works well for heavier satin weights. Hong Kong seams, where each seam allowance is wrapped in a strip of bias binding, are a beautiful finish for unlined garments where the inside is visible.
Press Satin Without Damaging the Sheen
Pressing satin seams is non-negotiable for a professional finish, but it has to be done carefully. Always use a press cloth between the iron and the satin surface. Set the iron to the appropriate temperature for the fiber content — low for polyester, very low for silk. Press with a gentle lifting and lowering motion rather than sliding the iron across the surface. Avoid steam on silk satin. If you get a shine mark, try pressing lightly on the wrong side only.
📌 Read more: Satin fabric vs silk.
Pro Tips for Working With Satin Fabric Like an Expert
Try to Cut in a Controlled Environment
Temperature and humidity affect how satin behaves on the table. In very humid conditions, satin can feel slightly tacky and drag against the cutting surface. In dry conditions, static electricity becomes a problem as the fabric clings to itself and to your pattern paper.
A moderate, climate-controlled workspace is ideal. If static is an issue, lightly mist the air in the room (not the fabric) or use an anti-static spray on your cutting mat.
Use Tape to Stabilize Difficult Edges
For areas where you need the fabric to stay absolutely still — like a long straight cut along the selvage — a strip of low-tack painter's tape pressed lightly along the edge of the pattern piece can add just enough grip to keep everything in place. Lift carefully when done to avoid disturbing the fabric surface.
Always Test on Scrap Before Sewing the Final Garment
We can't say this enough: test everything on a scrap of the same satin before touching your cut pieces. Test your iron temperature, your seam finish, your stitch length, and your needle. It takes five extra minutes and saves hours of unpicking or, worse, discarding a piece entirely.
Final Thoughts: Mastering the Art of Cutting and Sewing Satin Fabric
Satin rewards patience. The more carefully you prepare — treating the fabric before cutting, setting up your table properly, using the right tools, and taking your time with each step — the more the fabric rewards you with results that look genuinely professional. The challenges that make satin intimidating at first are the same ones that make mastering it so satisfying.
At Zellouf Fabrics, we carry a wide range of satin fabrics across weights, fiber content, and finishes—from charmeuse and bridal satin to crepe back satin and stretch satin. If you're not sure which satin is right for your next project, order a free swatch (just pay shipping) and see how it feels in your hands before you commit to yardage. That first touch tells you everything you need to know.