

Whether you're crafting a ballet look for a little dancer, throwing together a fun costume for Halloween, or making a one-of-a-kind skirt for a birthday party, a tulle tutu is one of the most satisfying DIY projects you can take on. The best part? You don't even need a sewing machine. With the right tulle and a little patience, anyone can make a beautiful, full tutu skirt at home in under an hour.
This guide walks you through both methods: the no-sew tutu for beginners and the sewn version for those who want a cleaner, more polished finish. We'll cover everything from measuring and cutting to customizing your tutu for any occasion. And because the quality of your tulle makes all the difference, we'll also share what to look for when sourcing your fabric.
Let’s get started!
What You Need to Make a Tulle Tutu (Supplies Checklist)
Before you cut a single strip of fabric, get everything laid out and ready. A smooth workflow starts with the right supplies.
Basic Materials for Any Tutu Skirt
- Tulle fabric — available in rolls (spools) or off the bolt. Rolls are convenient for no-sew projects, while bolt fabric gives you more flexibility in width and cut.
- Elastic — standard ¾-inch to 1-inch wide elastic works best for a comfortable waistband.
- Scissors — sharp fabric scissors will make cleaner cuts and save you a lot of frustration.
- Ribbon — optional, but great for adding a decorative waistband or bow detail.
- Measuring tape — you'll need this for both your waist and the desired skirt length.
- Pins — optional but helpful for marking your cut lines and keeping things in place.
Extra Supplies for the Sew Method
- Sewing machine — a basic one works fine. You don’t need any fancy features.
- Needle and thread — match your thread to your tulle color, or go with a neutral.
- Safety pin — invaluable for threading elastic through a waistband.
How Much Tulle Do You Need?
This depends on the size of your tutu and how full you want it to look. As a general rule:
- Toddler/baby tutu: 5–7 yards of tulle
- Child's tutu (ages 3–10): 8–12 yards
- Adult tutu skirt: 15–25 yards, depending on your waist size and desired fullness
Tulle is lightweight, so it’s always better to buy more. For a really full, fluffy look, think pageant or ballet, lean toward the higher end of those ranges. For a no-sew tutu using a 6-inch spool of tulle, plan on approximately 25-30 strips per inch of elastic circumference to achieve a full look.
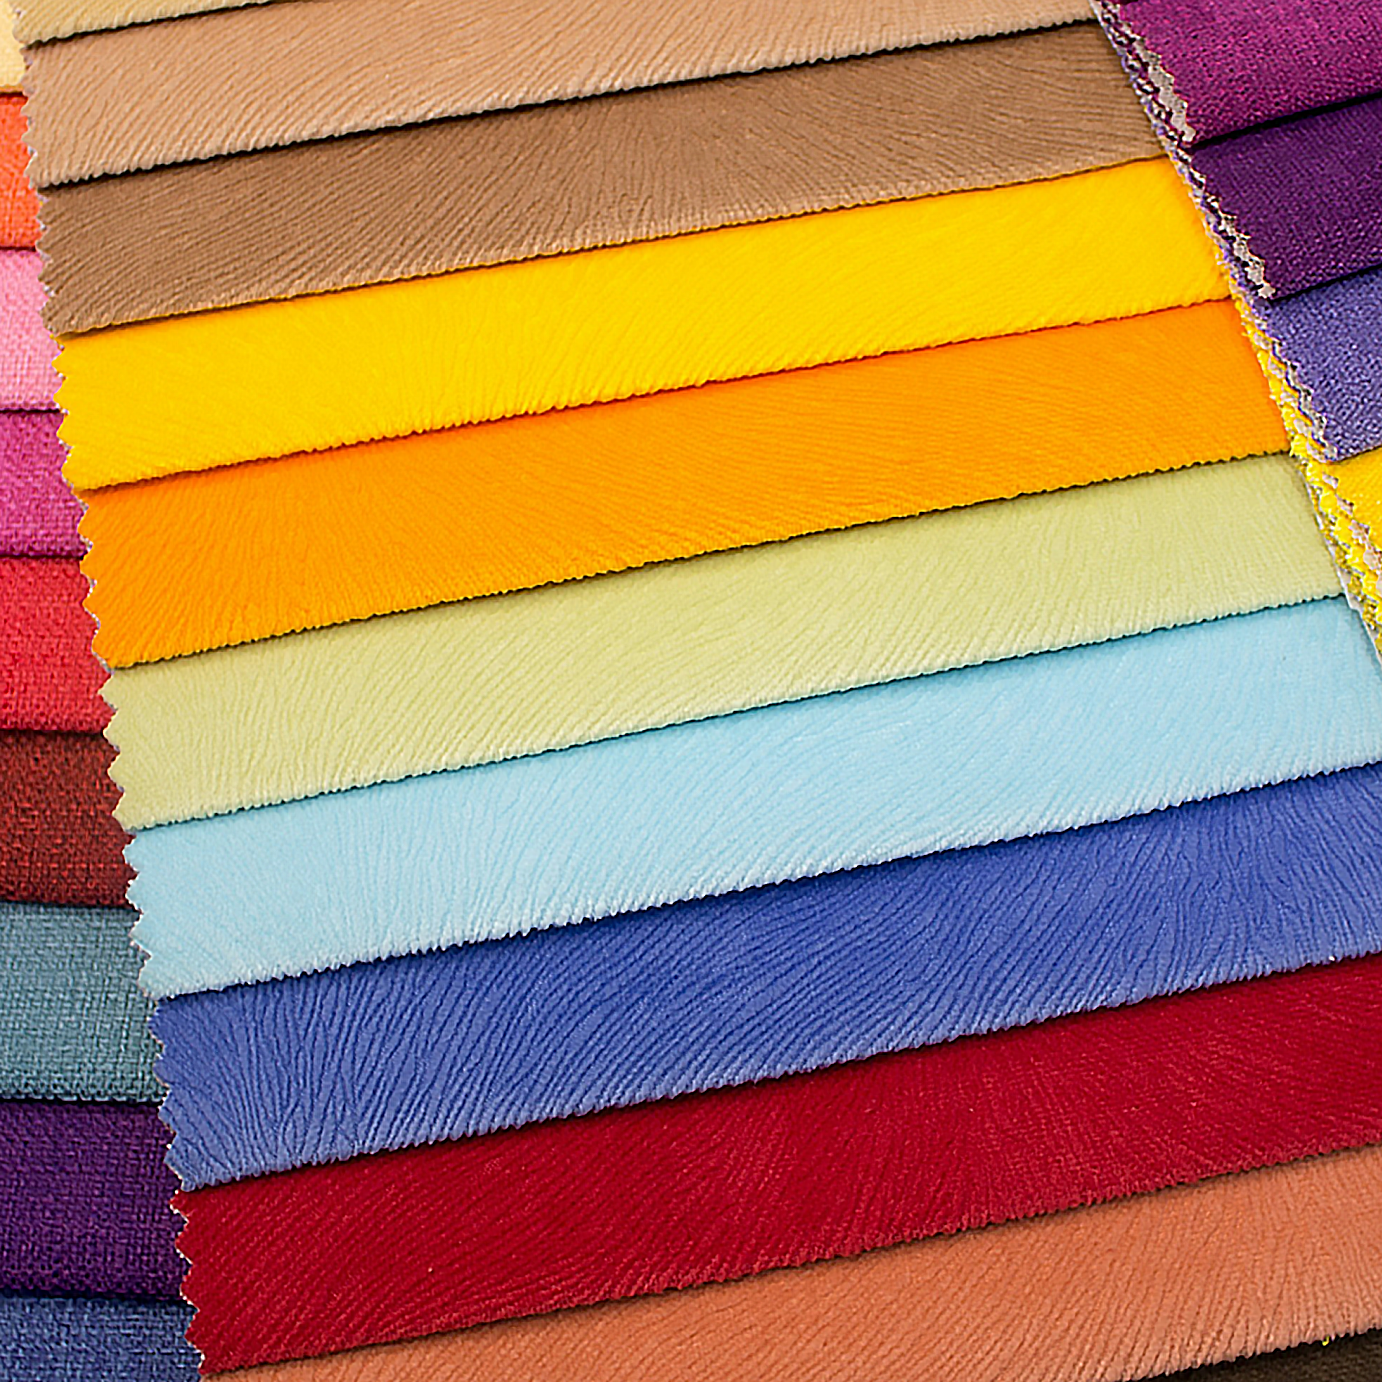
We carry tulle in a wide range of colors by the yard, so you can order exactly what you need without waste.

Measure Before You Cut – Sizing Your Tutu Properly
Measuring carefully before you touch your scissors is the single best thing you can do to avoid wasted fabric and a tutu that doesn't fit right.
1. How to Measure Waist Size
Use a flexible measuring tape to measure around the natural waist or hips, depending on where the tutu will sit. Add about one inch for comfort. This is your elastic length.
2. Decide How Long You Want Your Tutu
Length is a matter of personal preference and purpose. Here's a general guide:
- Baby tutu: 6–8 inches (adorable and proportional on tiny frames)
- Toddler/little girl tutu: 10–14 inches (hits around mid-thigh for ease of movement)
- Adult tutu skirt: 15–25 inches (can range from a playful mini to a more dramatic, knee-length style)
The key formula: For whatever length you want your finished tutu to be, cut your tulle strips at twice that length. This is because each strip folds in half when attached to the elastic. So, for a 12-inch tutu, cut your strips to 24 inches.
3. Cut Your Elastic the Right Way
Measure your elastic to your waist measurement, then subtract about one inch so the waistband sits snugly without slipping. Overlap the two ends by about half an inch and either sew them together or use strong safety pins to close the loop. If you're sewing, use a zigzag stitch. It stretches with the elastic and holds up much better than a straight stitch.
DIY No-Sew Tutu (Step-by-Step Tutorial)
Follow these steps to DIY your tulle tutu:
Step 1 – Cut the Tulle Strips

Lay your tulle flat on a clean surface and cut strips that are approximately 4–6 inches wide and twice your desired skirt length. For example, if you want a 10-inch tutu, cut your strips 20 inches long.
Consistency is key here. The more uniform your strips, the more even your finished tutu will look. Using a rotary cutter and a cutting mat can speed this up significantly if you have them on hand.
Step 2 – Attach Tulle Around the Elastic
Hold your elastic loop open (you can drape it over your knees, a cardboard tube, or a chair back for easier access). Take one tulle strip, fold it in half, and slide the folded loop underneath the elastic. Then pull both loose ends of the strip through that loop and tighten gently. This is called a lark's head knot, and it's the foundation of every no-sew tutu. Keep your knots snug but not overly tight — you want them to sit evenly along the elastic.

To visualize it, the folded loop goes under the elastic, and both loose ends come up and over the elastic, then thread down through the loop. Pull snug. The knot should grip the elastic without sliding. Keep your knots snug but not overly tight - you want them to sit evenly along the elastic.
Step 3 – Make the Tutu Fuller
Continue attaching strips all the way around the elastic band, working from one side to the other. Slide each new knot firmly against the last as you go - no gaps. As a benchmark, aim for roughly 2-3 strips per inch of elastic for a moderately full tutu, or 4 or more strips per inch for a pageant-level poof. On a 20-inch elastic loop, that's 40-80 strips total.
For a very full look, you can layer two strips of tulle at a time in the same knot, or alternate colors for a multi-tone effect. Once the elastic is covered, give your tutu a shake and fluff it out. You'll see how it's taking shape.
Optional: Use Ribbon Instead of Elastic
Instead of an elastic waistband, you can use a long piece of ribbon (about 2-3 yards) as both the base and the tie. Fold the ribbon in half to find the center point, then attach your tulle strips along the center portion of the ribbon using the same lark's head knot method. Leave long ribbon tails on each side for tying at the waist in a bow. This works well for baby tutus and costume pieces.
Once finished, store your no-sew tutu by hanging it. Don’t fold the tutu as it compresses the knots and flattens the volume. A simple skirt hanger works perfectly.
When to Choose a DIY No-Sew Tutu
The no-sew method is ideal for quick turnarounds, say a costume you need by tomorrow, a party favor you're making in bulk, or a craft project for older kids who want to make their own. It's also the go-to choice if you don't own a sewing machine or aren't confident with one yet. The finished look is full, fun, and completely charming.
How to Sew a Tulle Tutu (Elastic Waistband Method)
For a more polished, wearable tutu skirt, the sewn method gives you cleaner lines, a more secure waistband, and a longer-lasting garment overall.
Step 1 – Sew Tulle into a Gathered Skirt
Cut your tulle into long, wide panels (the full width of the bolt works well here). Set your sewing machine to the longest straight stitch and run a basting stitch along the top edge of your tulle panels.
Don't backstitch at the start, though. You'll need to pull one of the thread ends to gather the fabric. Gently pull the bobbin thread to gather the tulle until the top edge matches your waist measurement. Distribute the gathers evenly as you go.
Step 2 – Attach to Elastic Waistband
Sew your elastic into a loop as described earlier. With the elastic loop open flat, align the gathered edge of your tulle along the bottom edge of the elastic and pin it in place.
Then, sew the tulle to the elastic using a zigzag stitch, stretching the elastic slightly as you sew so the waistband retains its stretch. Overlap the ends of your tulle panels and stitch through all layers.
Step 3 – Finish the Seam
Fold the elastic down over the raw edge of the tulle and stitch it in place along the bottom of the elastic, encasing the raw seam inside the waistband. This gives the tutu a clean interior finish and protects the raw edges from fraying over time. Trim any loose threads.
Add Extra Layers
One advantage of the sewn method is how easily it adds volume through multiple layers. Simply gather additional panels of tulle and attach them beneath the first layer, staggering the lengths slightly for a more dimensional look. A longer underlayer in a contrasting color peeking out below a shorter outer layer is a particularly charming effect.
How to Customize Your Tulle Tutu
Once your basic tutu is finished, the fun really begins. Here are some ideas to customize your tutu:
1. Color & Theme Ideas
Tulle comes in dozens of colors, and mixing shades is one of the easiest ways to make your tutu feel unique. Some popular combinations:
- Ballet pink + white — classic, timeless, beautiful for recitals
- Black + gold — glamorous and great for Halloween costumes or New Year's Eve
- Rainbow — one strip of each color for a playful, festival-ready look
- Pastels — mint, lavender, blush, and cream work beautifully together for baby showers and spring events
2. Add Accessories
A simple tutu becomes something special with the right finishing touches. Consider hot-gluing small silk flowers, rhinestones, or star sequins along the waistband.
A wide satin ribbon tied into a bow at the back adds an elegant detail without any extra sewing. For a fairy or princess costume, add a sparkle tulle layer or a few strips of glitter tulle mixed in with the base color.
Tip: Iron-on heat transfer vinyl (HTV) does not adhere well to tulle. Stick to hot glue, hand-stitching, or clip-on embellishments for decorating.
Make One for Any Occasion
Tutus aren't just for ballet class. Here's where else they shine:
- Birthday parties — the birthday girl in a matching tutu is a timeless look
- Halloween costumes — tutu base for ballerina, fairy, pumpkin, or unicorn costumes
- Gender reveal parties — pink or blue tutus for the mom-to-be and guests
- Photo shoots — newborn and toddler tutus photograph beautifully
- Bachelorette parties — white or blush tutus for the whole squad
Common Mistakes to Avoid When Making a Tutu
Even a simple project has its pitfalls. Here's what to watch for.
1. Cutting Tulle Too Short
This is one of the most common mistakes beginners make, and unfortunately, there's no fixing strips that are already too short. Keep in mind that your strips need to be double your desired finished length.
2. Not Using Enough Tulle
When in doubt, add more strips. A full, fluffy tutu requires more tulle than you may estimate. Order extra yardage up front to avoid running short halfway through the fabric.
3. Elastic Too Tight or Too Loose
Your elastic should feel snug but comfortable. It shouldn't dig into the skin or slide down with movement. Test it by wearing it for a few minutes before committing to the final knot or stitch.
Tip: Your finished elastic loop should be about an inch smaller than the actual waist measurement.
4. Uneven Knots or Gaps
Push each lark's head knot close to the previous one as you attach strips. Gaps in the tulle coverage make the elastic visible and reduce the fullness of the finished skirt.
5. Tutu Looks Flat or Droopy After Wearing
If your tutu loses its volume after a wear or two, the cause is almost always one of two things:
- The tulle is too soft or lightweight for the style you chose.
- The strips are too long relative to the waist size.
For a fluffier result, shorten your strips by 2-4 inches, switch to a slightly stiffer tulle, or add a second layer of strips on top of the first, using the same lark's head knot method. Hanging the tutu overnight after making it also helps the strips set into a more even, voluminous shape.
6. Using the Wrong Scissors
Dull scissors drag and distort tulle rather than cutting cleanly, leaving frayed, uneven edges. Dedicate a pair of sharp fabric scissors to this project and don't use them on paper beforehand, as paper dulls blades quickly. A rotary cutter is an excellent alternative for cutting multiple layers at once.
How to Make a Tutu Fluffier
If your finished tutu looks flatter than you expected, there are four quick fixes that can add significant volume without starting over:
1. Add a second layer of strips
Working over your existing knots, tie a fresh round of tulle strips onto the elastic using the same lark's head knot method. This is the fastest way to double the density and lift of your tutu without any rework.
2. Shorten the strips
Strips that are too long droop under their own weight, especially with softer nylon tulle. Remove a few strips, trim 2-4 inches from each, and reattach them. If the tutu looks noticeably fuller, trim the rest to match.
3. Add strips of stiffer tulle to the outer layer
Adding a few strips of crinoline or firmer-weight tulle to the outermost layer can increase volume and improve shape retention. These stiffer materials act as a support structure, helping hold the softer tulle strips away from the body rather than allowing them to collapse inward.
There's no need to replace the entire layer. In many cases, ADDING just 20–30% stiffer strips alongside the existing softer tulle creates more fullness while preserving the lightweight, airy appearance.
4. Hang overnight and fluff each strip downward
After making your tutu, hang it on a skirt hanger and gently shake each strip downward to reset the volume. If the tulle has been compressed in storage, a light pass with a steamer on the coolest setting can revive it.
Final Thoughts: The Easiest Way to Make a Tulle Tutu at Home
A tulle tutu is one of those projects that rewards you immediately. Within an hour, you go from a pile of fabric to something that spins and floats and makes whoever wears it feel a little magical. That's hard to beat.
Whether you go with the no-sew method for speed or the sewn version for a more polished finish, the most important ingredient is good tulle. Thin, inconsistent tulle will result in a limp, flat skirt. On the other hand, quality tulle holds its shape, catches the light, and gives you that signature fluffy volume that makes a tutu worth making in the first place.
We carry tulle by the yard in dozens of colors, from classical ballet pink and white to bold jewel tones and metallic finishes. Order a free swatch (just pay shipping) to check the color and drape before you commit to a full order. When your fabric is ready, so are we.
FAQs About Making a Tulle Tutu
How long does it take to make a tutu?
A no-sew tutu for a child can be completed in 30–45 minutes once your strips are cut. An adult-size tutu with maximum fullness might take closer to 90 minutes. The sewn version adds time for gathering and machine stitching, but is still typically a one-afternoon project.
Is sewing required?
Not at all. The no-sew lark's head knot method produces a beautiful, secure tutu without any stitching. Sewing gives a cleaner finish and greater durability, but it's entirely optional.
Can adults wear tutus?
Absolutely. Adult tutus have become a staple in everything from bachelorette parties to fashion runways. The key is to use enough tulle — adult tutus need significantly more yardage than children's sizes — and to choose a length that suits the occasion.
How do you wash a tulle tutu skirt?
Hand washing in cold water with a gentle detergent is the safest approach. Avoid wringing or twisting the tulle. Simply squeeze out the water gently and lay flat or hang to dry. For a no-sew tutu, machine washing isn't recommended as it can loosen the knots over time.
Where can I buy affordable tulle?
We carry a wide selection of quality tulle fabric by the yard at wholesale pricing, available in a full spectrum of colors. Buying from a fabric wholesaler like us means you get consistent quality across your yardage, which matters especially when you're making multiple tutus or need colors to match precisely. You can also request a free swatch before committing to a larger order.
How do I make a tutu without elastic?
Use a 2-3-yard length of ribbon as your base. Attach tulle strips along the center section using lark's head knots, leaving long tails at each end to tie at the waist. This is especially useful for baby tutus or one-size-fits-all costume pieces.
How many strips of tulle do I need?
For a child's tutu on a 20-inch elastic loop, plan on 60-80 strips for a full look. For an adult tutu on a 30-inch loop, plan on 90-120 strips.
Can I make a tutu with a toddler?
Older toddlers (3 and up) can help with the no-sew method - pulling strips through the lark's head knot is a manageable fine-motor task with supervision. Pre-cut all strips yourself before involving little helpers.