

At the fitting, the mockup’s neckline sits where it should, but a waist dart pulls when the wearer stands. When they sit, the dress feels tight through the hips. We can mark the pulling and the restriction now; we cannot assume that a softer final fabric will make them disappear. The point of a mockup is to catch pattern-fit problems before cutting final yardage, not to promise an exact preview of the finished dress.
Choose test cloth that gives useful evidence
The word muslin does not tell us whether a cloth will behave enough like the planned dress fabric. Compare their weights, body, and stability: does each hold its shape along the seam, or does one collapse or grow when handled? A much stiffer mockup may stand away from the body where a soft final fabric would fall closer. A much lighter one may hide the bulk and strain that a heavier dress will produce.

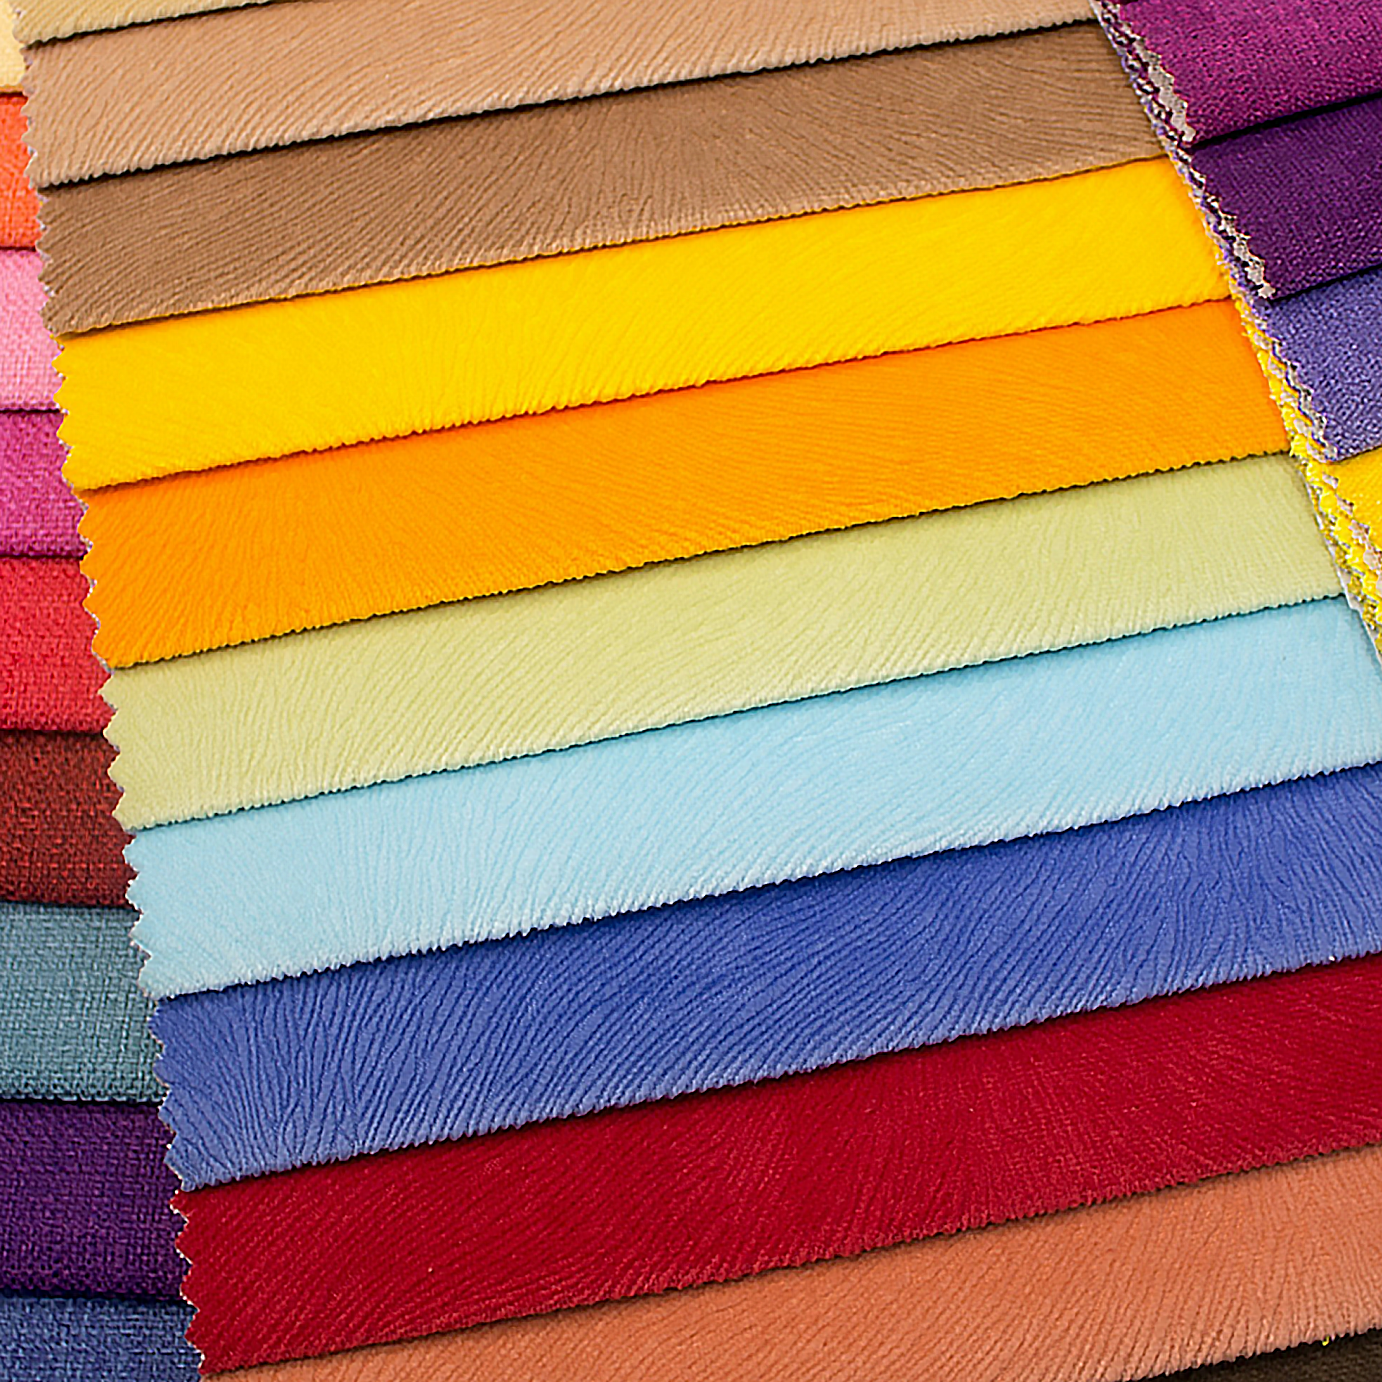
For a stable woven dress, I would choose a test cloth with reasonably similar weight and firmness, then prepare it as I plan to prepare the final yardage so shrinkage does not confuse the fitting. If the dress is intended for a stretch fabric, rigid woven muslin can still help check some placement questions, but it cannot establish the right ease or movement fit. A test knit with similar stretch and recovery—or a small test in the intended fabric—will give better evidence for those decisions. Zelouf’s by-the-yard fabric selection provides a place to compare the intended fabric’s listed composition and characteristics before deciding what the mockup cloth needs to approximate.
Fit the dress on a person, not just a hanger
Put the mockup on with the undergarments and shoes expected for the finished dress, and fasten it as it will be worn. First, let it settle while the wearer stands naturally. Check whether the center front and back hang straight, the waist and bust landmarks land where intended, and the hem looks level. Then have the wearer sit, walk, and raise their arms as the design permits. A dart that pulls only when seated and a skirt that restricts sitting are different clues; neither calls for a guessed alteration before we see where the strain begins.
Keep the mockup on the wearer while testing changes. Pin a proposed adjustment at a seam or dart, have them move again, and mark both the new line and the original stitching line. Write directly on the cloth which side needs more room, where the change tapers out, and whether the issue appears only in motion. For our dress, we might release a little stitching near the pulling waist dart to see whether that removes the strain, while separately marking where the hip area binds when seated. The marks record a test, not a universal prescription for every waist dart.

- Shoulders and neckline: Mark where they sit on the body and note any gaping, slipping, or pressure.
- Bust and waist: Note whether the dress’s shaping lines meet the wearer’s actual landmarks.
- Seams and darts: Mark pulling, excess fabric, and the start and end of any pinned change.
- Hem balance: Check the front, back, and sides after the wearer has moved, not just at first glance.
- Movement ease: Record where sitting, walking, or reaching creates strain or shifts the dress out of place.
Turn fitting marks into a pattern you can trust
Once the mockup is off, compare the left and right sides before copying marks to the paper pattern. Transfer the corrected seam or dart lines, label what changed, and keep the original line visible until the revision has been tested. If the waist dart needs reshaping, check where its point and legs now end and whether its change affects the adjoining waist seam. If more room is needed at the hip, check that any revised side-seam lines meet smoothly and that front and back seam lengths still match where they must be sewn together.
True the affected seams—smooth their new lines and check their joined edges—then walk neighboring pattern pieces together along their stitching lines. A correction at one point can move another: changing a side seam may alter waist placement or hem balance. That is why the on-body marks matter more than simply taking in or letting out the same amount everywhere.

Know when fit is settled—and when fabric is still the question
I would sew another mockup if the revised dart and hip changes affect connected areas, if the silhouette has changed substantially, or if the wearer still cannot sit and move comfortably. Refit that version before committing expensive yardage. If the corrections are small, clearly marked, and do not disturb neighboring fit points, we can instead focus on what the mockup has not established.

A stable woven test garment may confirm placement and expose strain, but it cannot predict how charmeuse will fall or whether crepe will cling to the body in the same way. Stretch and recovery also need checking in the intended fabric itself. Before cutting the full dress, handle a candidate swatch and, where fit depends on its behavior, sew a small test at the relevant seam or area. Compare that evidence with the revised pattern and the fabric details in Zelouf’s by-the-yard selection; cut the final yardage only when the fit changes are resolved and the remaining fabric-dependent behavior has been checked.