
Can This Satin Carry Lettering on a Jacket?
The hoop comes off the test panel, and a word that looked crisp under tension now has shallow ripples around one letter. Is the satin wrong for the jacket, or can we correct the setup before buying yardage? The answer is on the relaxed sample, not in how the stitching looked while the fabric was stretched.
A satin stitch is a way of filling an embroidered letter with closely spaced thread; it does not tell us whether a particular satin fabric will tolerate that lettering. Satins differ in weight, stretch, finish, and construction. I would treat the intended word as a stress test for the exact fabric and jacket placement before committing to a single personalized jacket or a small production run.
Stitch the Word You Actually Plan to Wear
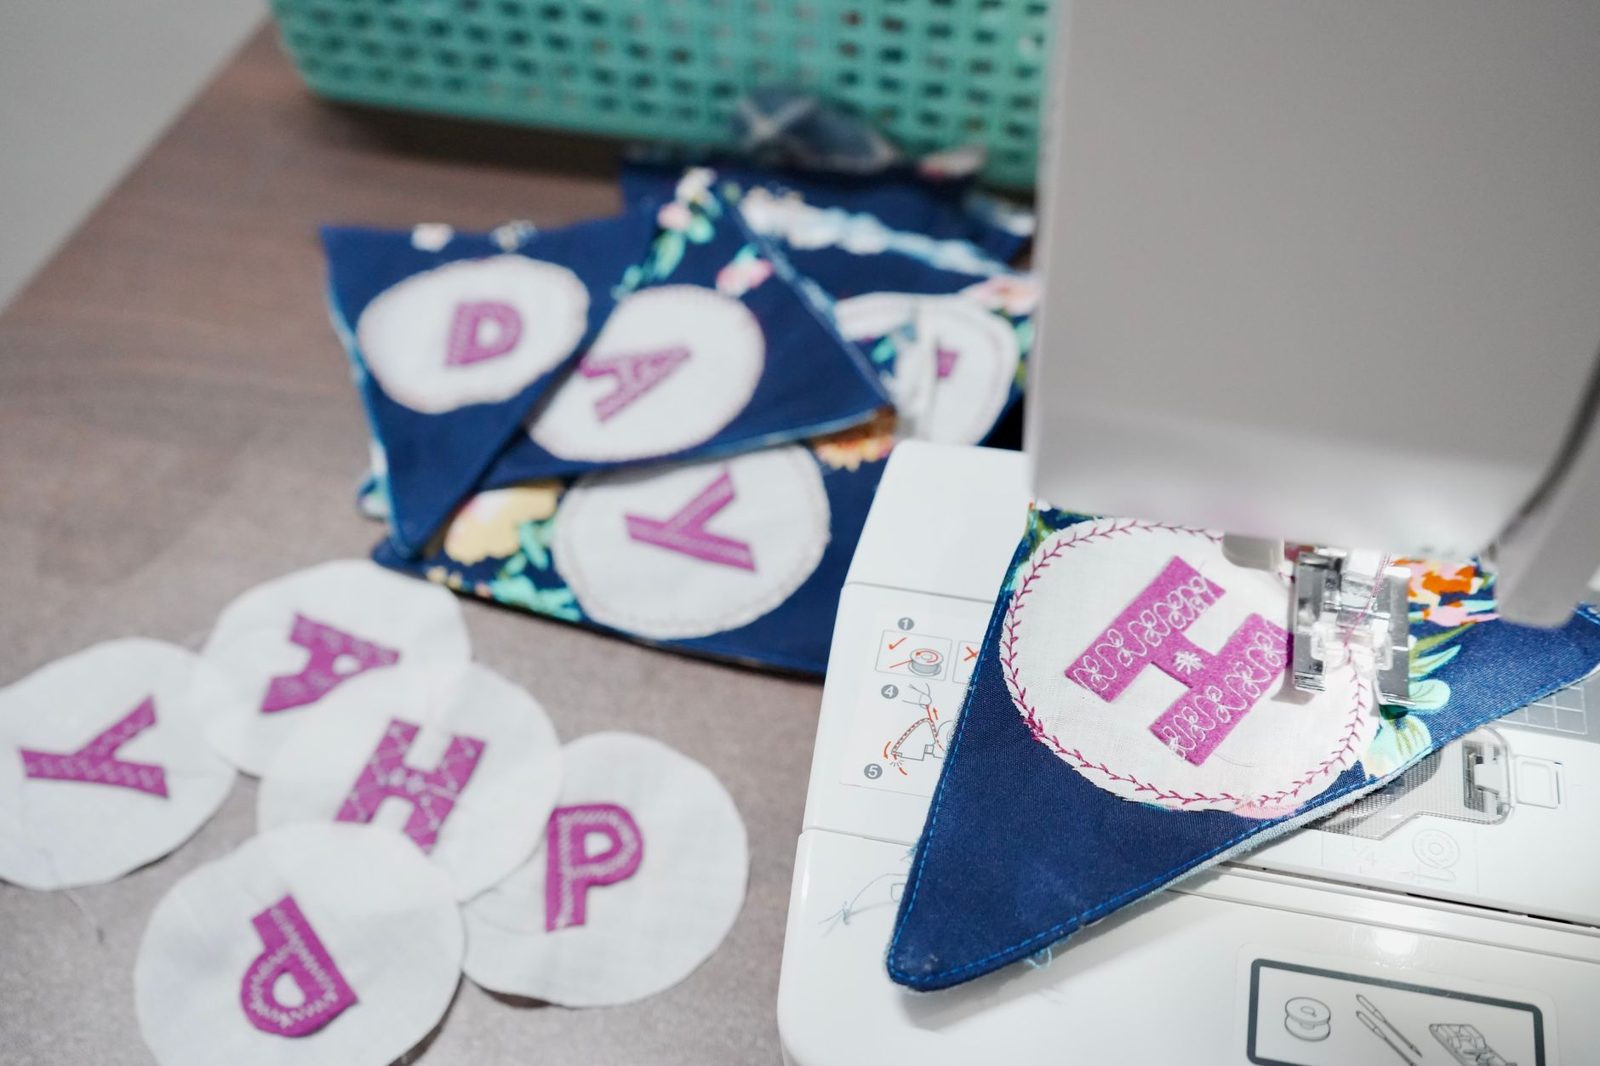
Use the real lettering at its intended size, stitch density, thread, and orientation. A small, open monogram will not tell us what a dense name across the back will do. Put the design where it belongs in relation to seams, edges, and the grain; leave enough fabric around the test to see whether the surrounding satin draws inward. If you are considering another satin construction, such as charmeuse, make a separate sample rather than assuming it will behave like the first.
Build the panel from the candidate satin with the backing and any lining, interfacing, or other jacket layers that will be present at the lettering. If the finished jacket will have a seam or thick layer close to the word, represent that arrangement in the test. Hoop or support the panel as you intend to do during production, without pulling the satin tighter just to make it look smooth. Keep notes on the fabric, backing, needle condition, and machine setup so we can repeat a clean result — or identify what changed.
What Changes When the Hoop Comes Off?
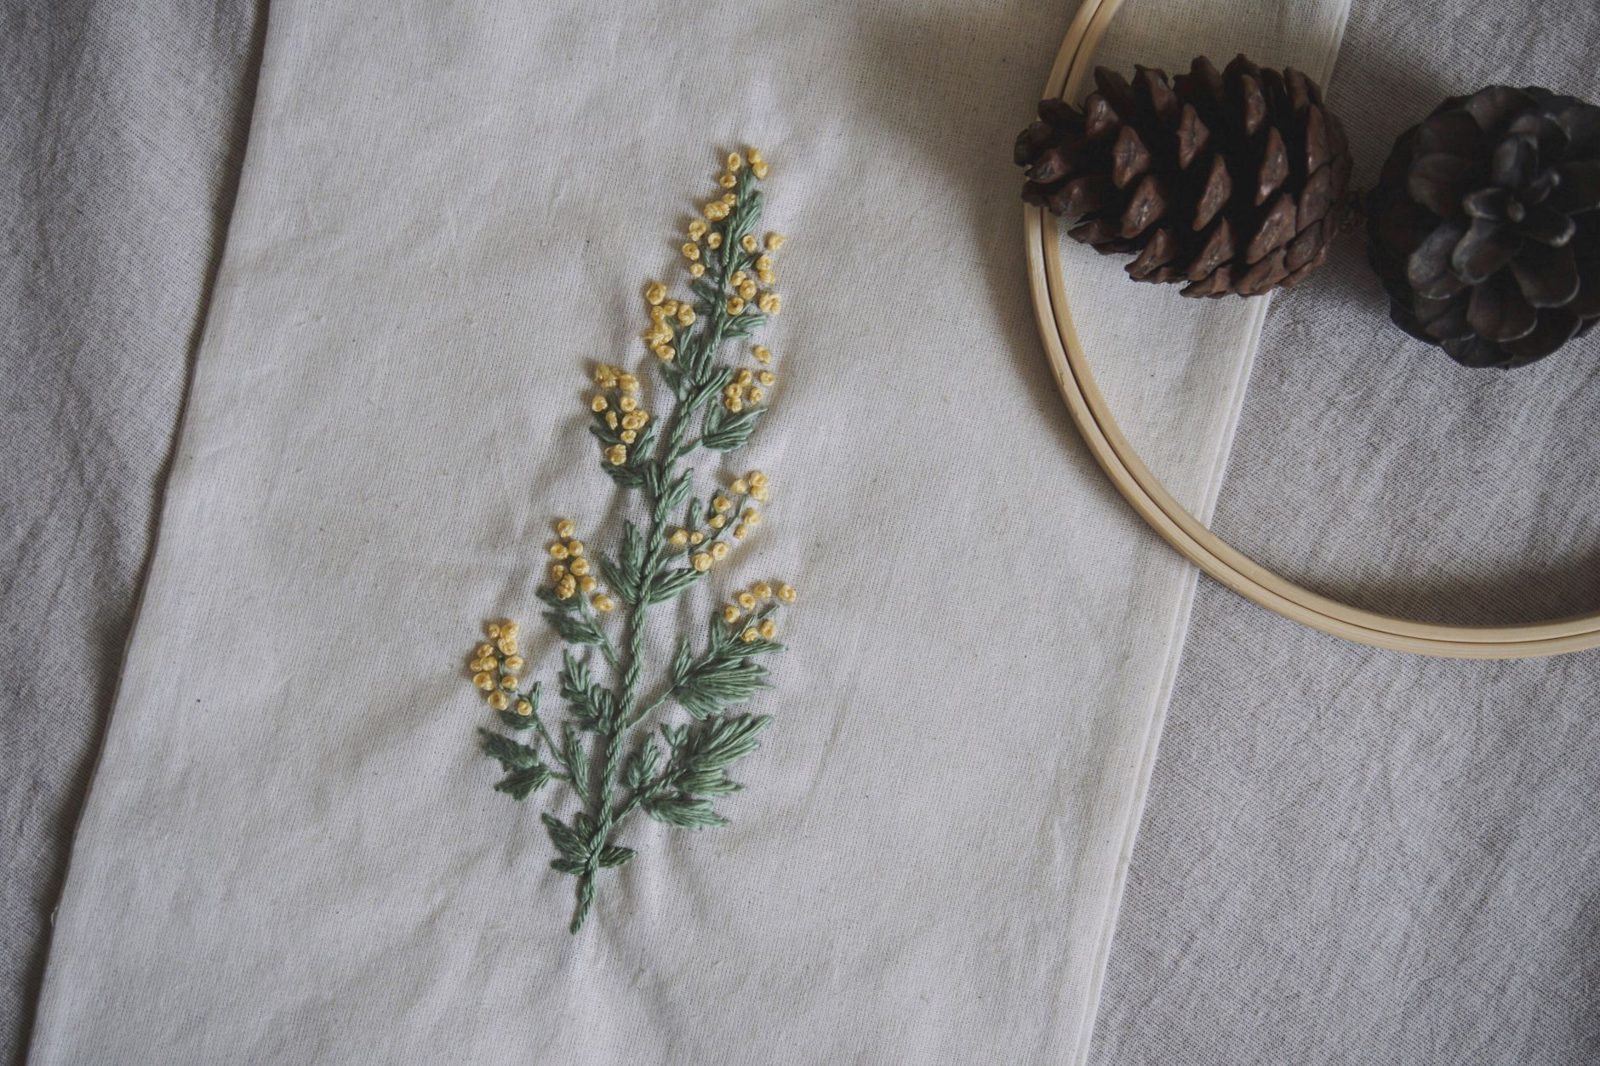
First, let the panel relax on a flat surface. Look at the word from the front, then turn it over and examine the backing and thread paths. Compare the letter edges with the intended shape, and check the satin immediately around the stitching for shallow waves, pulled threads, shiny punctures, or tiny snags. Photographing the same word in the hoop and after release can make subtle distortion easier to spot, especially when you are evaluating several samples for a run.
Rippling may mean the fabric was stretched during hooping, the backing was not supporting it well enough, or the stitches are drawing too much fabric into a small area. A pull can point toward abrasion or a damaged needle, while visible holes may persist even if the thread is removed. Uneven or narrow-looking letters might involve tension or the design itself. None of these clues identifies a cause on its own; the reverse side and a controlled retest help us avoid rejecting workable fabric for a fixable setup issue.
Change One Thing Before You Blame the Fabric
Keep the original panel as a reference and stitch the same word on fresh pieces of the candidate satin. Change one variable per test, recording what improves and what remains. For both a home sewist and a workroom planning repeat jackets, this is more useful than changing the needle, backing, and design all at once.
- Check hooping if the released panel ripples. Try supporting the satin without stretching it taut, then compare the relaxed samples. If the waves remain, hooping may not be the only issue.
- Check backing if letters pull the surface inward. Test a backing arrangement suited to the actual jacket layers, keeping the lettering and other settings unchanged. Inspect both sides after release.
- Check the needle if you see pulls or punctures. Replace a worn or damaged needle and make another sample. Do not assume a snag will disappear with pressing.
- Check thread tension if the letters look uneven. Compare the face and reverse, make a measured adjustment appropriate to your equipment, and stitch again. If the outline still distorts, reconsider the lettering’s size or density rather than forcing the satin to carry it.
A clean retest is promising only if we can reproduce it with the same layers and method. If every reasonable setup leaves permanent marks or puckers, the next experiment may be a less dense lettering design or a different fabric — not more yardage of the failing sample.
Testing a different satin construction? Explore charmeuse fabrics →
Approve the Finished Sample, Then Plan the Yardage
Before making the buying call, treat the best sample as the finished jacket will be treated. If pressing is planned, test the appropriate method on a spare area first and follow the chosen fabric’s care information; pressing satin can change what we see, and heat tolerance varies by fabric. If the jacket will be cleaned, test the planned care method where practical rather than assuming a stitch that survives pressing will survive cleaning. Let the sample rest, then view it at its intended location against the other jacket layers, under the light in which the jacket will be worn.
I would approve the satin only if the lettering holds its shape and the surrounding area stays acceptably smooth, without pulls or objectionable needle marks, after that finishing check. For a repeat run, make sure the result is reproducible before cutting the jackets. The threshold belongs to the garment: a small imperfection hidden inside a cuff is not the same as a ripple across the center back.
Once the sample passes, browse Zelouf’s satin by the yard and check the specific listing for composition, usable width, care information, and current sampling or ordering options. A heavyweight bridal satin listing, for example, is a candidate to evaluate, not proof that its fabric will support your lettering without a test. Lay out the jacket pattern pieces at the listed width, allow for the intended cutting direction and matching needs, and add the fabric required for repeat test panels before deciding how many yards to order. If the finished lettering still puckers or marks the satin, revise the design or fabric choice before committing to the cut.